WRITER | SARAH SPOHN
PHOTO | ALL THE PRETTY HOUSES, LLC
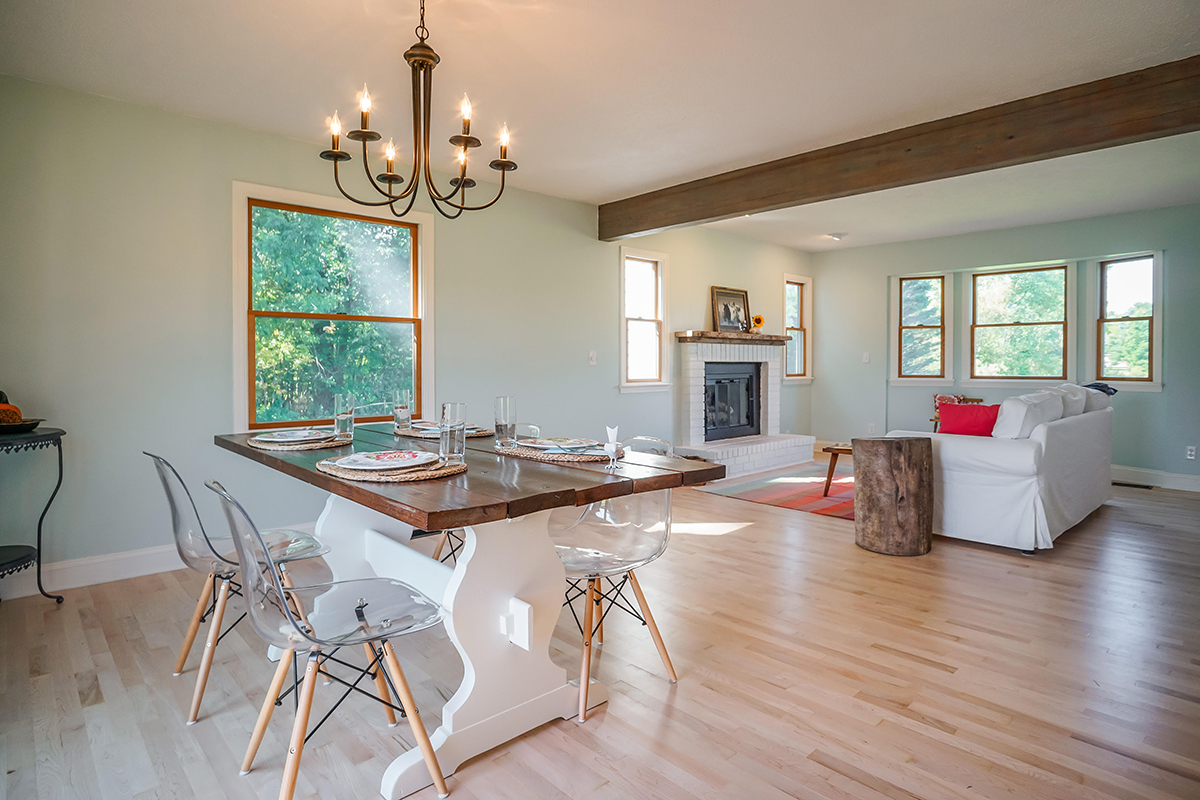
Power couples on HGTV can make any daunting home improvement project look completely doable in a 30-minute television episode, but we know the real sweat equity DIY requires. While hardwood floors are a ‘must’ for many interested home buyers, they’re not always in tip-top shape. If you’re hoping to restore your historic hardwood floors to their former glory, it’s actually a task most people can do on their own.
In 2014, Heidi Johnson Milam started All the Pretty Houses, LLC, a company dedicated to the thoughtful renovation of distressed homes. The former lawyer-turned-licensed-residential-builder has always had a passion for interior design. Most of the homes she’s worked on have required a total refinishing of the existing hardwood floors, so she’s learned a few tips and tricks over the years.
“Honestly, refinishing hardwood floors is not technically difficult,” she said, “though it is a little physically challenging.” Learning techniques from her father, tips on the internet, and research from episodes of “This Old House,” Johnson Milam has a few tips of her own for DIYers.
If your toolbox isn’t full of machinery, you can rent tools, including a professional drum sander or edge sander, from local home improvement stores like Menards or Home Depot. The cost is roughly $300-350 for a few days. According to Johnson Milam, sanding supplies will run about $50, and the floor finishes run about $45-$50 a gallon. You’ll want to invest in tarps or heavy plastic zip doors to keep sectioned-off areas clean of dust, and you’ll need to close any vents and shut off air conditioning or heating in the project area.
“My dad always said the most important thing when you’re sanding the floor is to keep moving,” she said. “You want to be moving when you set that drum down, and you want to be moving when you pull it up. Don’t make any fast moves, because if you stop for a split second – or if you get to the end of the room, stop, and pull the drum up – you end up with divots in the floor.”
“Floors have probably three refinishes in them if they’re normal ¾-inch-thick wood,” she said, “and it’s very hard to sand those divots out.”
Sanding often takes a few days, and it’s important to keep surfaces clean of debris or dust before applying any finishes or stains. If you’re also looking to paint the room, Johnson Milam recommends the floors be refinished first to avoid dusty smears on newly painted walls.
Since sanding floors is a very dusty task, you’ll want to section off the room or even stay elsewhere for the duration. It’s also important to remove any baseboards or shoe molding to ensure the very edges of your floor are properly sanded.
“You really need to clean it up completely afterward,” Johnson Milam says. “Sweep it, vacuum it, and then get on your hands and knees with a tack cloth. There’s still a lot of fine dust on there, and you don’t want that in your finish. Your feet will feel it when you walk around barefoot, and you’ll see it when the light shines on it.”
When the floors are ready for the finishes, there are two primary options: oil-based or water-based. “Water-based is popular these days, partly because it’s a little bit easier to apply, but also because it gives you a bit more natural wood tone,” she says. Water-based also has less chemical smell than its oil-based counterpart. According to Johnson Milam, Minwax and Verathane (less potent smelling) are popular finishes in both styles.
“Always read the instructions,” she added. “With water-based, you can apply subsequent coats more quickly. You want at least three coats on your floor. With dry time, you’re talking at least two days, and you cannot walk on it.”
In between each coat, it’s important to take very fine grade sandpaper or steel wool to lightly sand off any raised portions and pick up dust pieces to ensure the next coat is smooth.
It is also important to pay attention to what applicator is appropriate for each finish. For example, water-based finishes often require synthetic rollers or pads, while oil-based finishes require a fine-bristled brush or a foam brush. There is a lot of versatility and customization when it comes to finishes – high-gloss, semi-gloss, satin, matte – and wood stain – golden oak, walnut, colonial maple, red mahogany, and more.
While the task can be tedious and require detailed hand work, it’s a very rewarding one once completed.
Editors Note:
Although I had never refinished floors before, this is a project that I decided to tackle with my recent home purchase. I knew that the house needed a lot of work, so it made sense for me to try. Plus, I wasn’t living there yet, so didn’t have to worry about the mess.
The project started with removing carpet, baseboards, and staples – lots and LOTS of staples. It was tedious and frustrating, and it took days.
I started sanding with a belt sander but quickly realized that a commercial-grade sander made more sense. Boy, did it. The sanding went more quickly, but it was more difficult to control the sanding depth. With two of us, it took four or five full days to sand and apply three coats of water-based finish to about 1,000 square feet. And the baseboards still haven’t made it back on the walls. (Turns out that putting up a Christmas tree in our new home was much more important.)
It is possible to DIY your floors, but unless you are very patient, have lots of time, and are willing to deal with some imperfections in the final product, in my opinion, it’s best to hire someone. That said, I am happy with my imperfect floors (yes, I have some of those divots she mentions) and would do it again.


